Hey there! As a supplier of Screw Tip Mixing, I've seen firsthand the importance of getting the screw tip adjusted just right for different mixing tasks. In this blog post, I'm gonna share some tips and tricks on how to do just that.
Understanding the Basics of Screw Tip Mixing
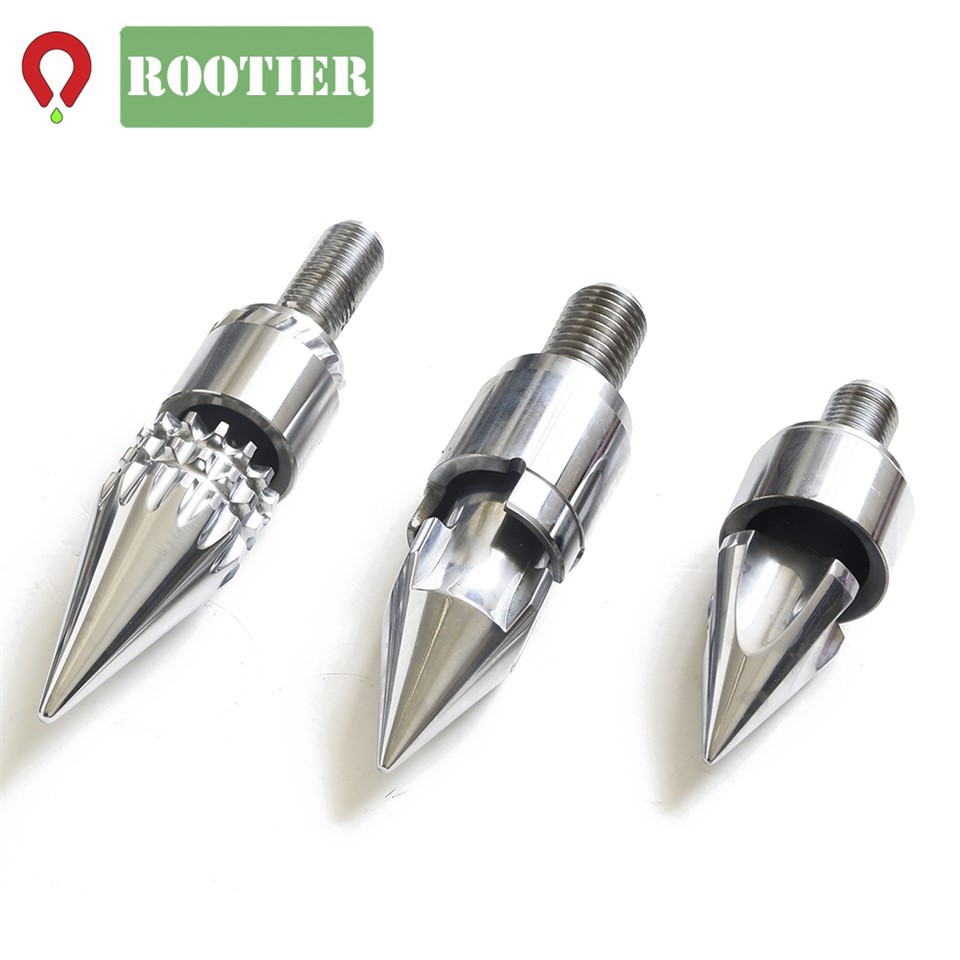
Before we dive into the adjustment process, let's quickly go over what Screw Tip Mixing is all about. Screw tip mixing plays a crucial role in plastic machinery, especially in injection molding and extrusion processes. It helps to ensure that the plastic materials are thoroughly mixed, which in turn leads to better product quality.
When it comes to Screw Tip Mixing, there are different types of screw tips available, each designed for specific mixing requirements. For instance, the Screw Tip Valve Set is great for controlling the flow of molten plastic, while the Ring Plunger Set Injection Molding is ideal for high - pressure molding applications.
Factors to Consider Before Adjusting the Screw Tip
Type of Material
The type of plastic material you're working with is a major factor. Different plastics have different viscosities, melting points, and flow characteristics. For example, polypropylene has a relatively low viscosity compared to polycarbonate. If you're mixing a low - viscosity material, you might need a screw tip that allows for faster flow and less resistance. On the other hand, high - viscosity materials require a screw tip that can generate more pressure to push the material through the mixing chamber.
Mixing Intensity
How thoroughly do you need to mix the materials? Some applications, like making clear plastic products, require a high level of mixing to ensure there are no streaks or inconsistencies. In such cases, you'll need to adjust the screw tip to promote more intense mixing. This could involve using a screw tip with more mixing elements or adjusting the pitch of the screw to increase the shear forces acting on the material.
Production Speed
Your production speed also matters. If you're running a high - volume production line, you need a screw tip that can handle the throughput. A screw tip that is too restrictive will slow down the production process, while one that is too open might not provide enough mixing. You'll need to find the right balance to meet your production targets without sacrificing quality.

Step - by - Step Guide to Adjusting the Screw Tip
Step 1: Inspect the Screw Tip
Before making any adjustments, take a good look at the screw tip. Check for any signs of wear and tear, such as cracks, chips, or excessive corrosion. A damaged screw tip won't perform properly, and it might even contaminate the plastic material. If you notice any issues, it's a good idea to replace the screw tip with a new one from a reliable source like our Screw Tip Mixing range.
Step 2: Determine the Initial Settings
Based on the factors we discussed earlier (type of material, mixing intensity, and production speed), set the initial parameters for the screw tip. This might involve adjusting the position of the valve in a Screw Tip Valve Set or changing the clearance between the plunger and the barrel in a Ring Plunger Set.
Step 3: Make Small Adjustments
Once you've set the initial parameters, start the mixing process on a small scale. Observe the quality of the mixed material. If it's not up to par, make small adjustments to the screw tip. For example, if the mixing is too weak, you could increase the back pressure by adjusting the valve or changing the screw pitch slightly.
Step 4: Test and Evaluate
After each adjustment, run a test batch and evaluate the results. Check for things like color uniformity, mechanical properties, and surface finish of the final product. If the quality has improved, you're on the right track. If not, make another small adjustment and repeat the testing process.
Step 5: Document the Settings
Once you've found the optimal settings for your specific mixing task, document them. This will save you time in the future when you need to run the same process again. You can create a log that includes details like the type of material, production speed, and the exact settings of the screw tip.
Troubleshooting Common Issues
Incomplete Mixing
If you notice that the material is not being mixed thoroughly, it could be due to a few reasons. First, check the screw tip for any blockages. Sometimes, debris can build up in the mixing elements, preventing proper flow. Also, make sure the screw tip is adjusted correctly for the type of material you're using. If necessary, increase the mixing intensity by making further adjustments to the screw tip.
Excessive Pressure
High pressure during the mixing process can cause problems like equipment damage and poor product quality. If you're experiencing excessive pressure, it might be because the screw tip is too restrictive. Try opening up the valve or increasing the clearance to reduce the resistance.
Material Leakage
Leakage can occur if the seals in the screw tip are worn out or if the screw tip is not properly installed. Check the seals and replace them if necessary. Make sure the screw tip is tightened securely to prevent any leaks.
Conclusion
Adjusting the screw tip for different mixing tasks is a process that requires a bit of trial and error, but with the right approach, you can achieve excellent results. By considering factors like the type of material, mixing intensity, and production speed, and following the step - by - step guide, you'll be able to fine - tune the screw tip to meet your specific needs.
If you're in the market for high - quality screw tips or need more advice on Screw Tip Mixing, don't hesitate to reach out. We're here to help you optimize your mixing processes and improve the quality of your products. Contact us for more information and let's start a conversation about your procurement needs.
References
- Plastics Processing Handbook, 3rd Edition
- Injection Molding Technology Guide


