Installing a screw tip valve set is a crucial process in plastic machinery operations, and as a reliable Screw Tip Valve Set supplier, I'm here to guide you through every step. Whether you're an experienced technician or new to the field, this guide will provide you with the necessary information to ensure a successful installation.
Understanding the Screw Tip Valve Set
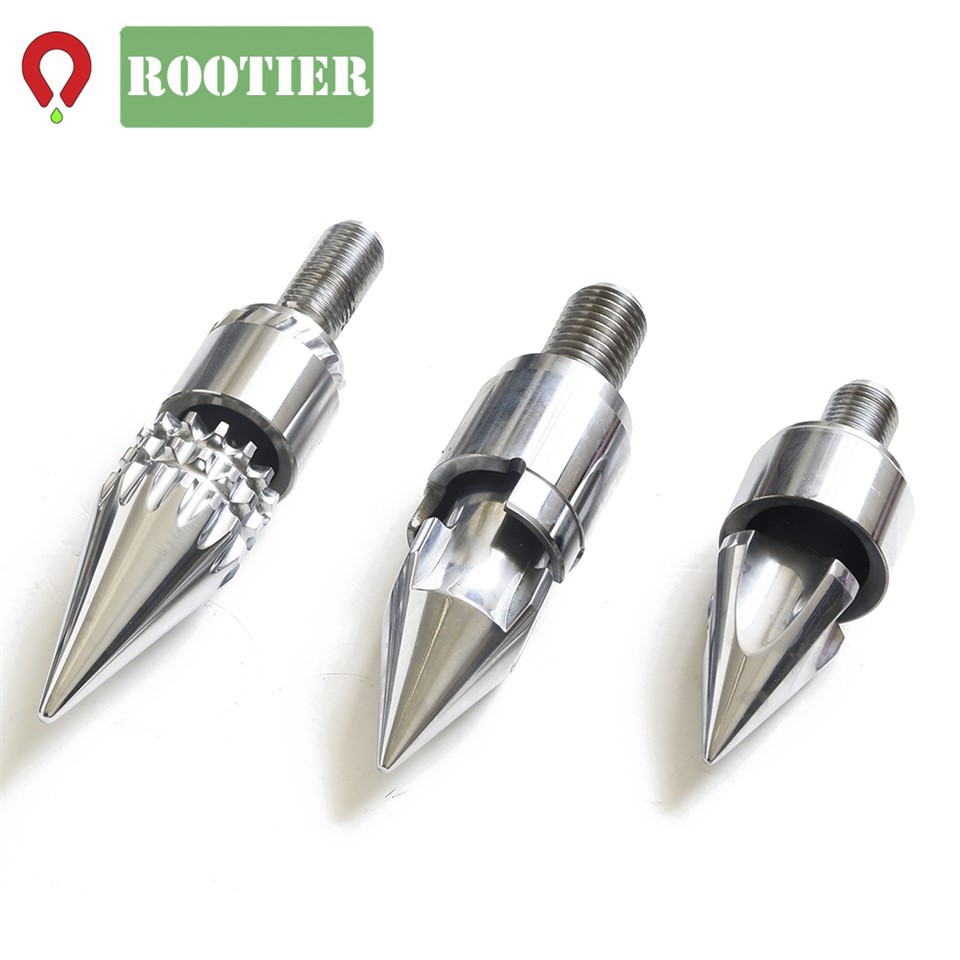
Before diving into the installation process, it's essential to understand what a Screw Tip Valve Set is and its role in plastic machinery. A Screw Tip Valve Set is a critical component in injection molding machines. It controls the flow of molten plastic from the screw into the mold cavity, ensuring precise and efficient injection.
There are different types of screw tip valve sets available in the market, each designed for specific applications. For instance, the Ring Plunger Set Injection Molding is known for its excellent sealing properties, preventing backflow of the molten plastic. On the other hand, the Screw Tip Mixing type is ideal for applications where thorough mixing of the plastic is required.
Tools and Materials Required
To install a screw tip valve set, you'll need the following tools and materials:
- Wrenches of appropriate sizes
- Screwdrivers
- Cleaning solvent
- Lubricant
- Safety goggles and gloves
Preparation
Before starting the installation, it's crucial to take some safety precautions. Ensure that the injection molding machine is turned off and disconnected from the power source. Wear safety goggles and gloves to protect yourself from any potential hazards.
Next, clean the area around the screw tip thoroughly. Use a cleaning solvent to remove any dirt, debris, or old plastic residue. This will ensure a proper fit and prevent any blockages during the operation.
Step-by-Step Installation Process
Step 1: Remove the Old Screw Tip Valve Set
Use the appropriate wrenches to loosen and remove the bolts or nuts holding the old screw tip valve set in place. Carefully remove the old set from the screw, taking note of its orientation. Inspect the old set for any signs of wear or damage. If the old set is damaged, it's recommended to replace it with a new one.
Step 2: Inspect the New Screw Tip Valve Set
Before installing the new set, inspect it carefully for any defects. Check the valve, plunger, and other components for proper alignment and smooth operation. Make sure that all the parts are clean and free from any debris.
Step 3: Apply Lubricant
Apply a thin layer of lubricant to the threads of the new screw tip valve set. This will make it easier to install and prevent any damage to the threads. Be careful not to over-lubricate, as excess lubricant can cause the set to slip during installation.
Step 4: Install the New Screw Tip Valve Set
Align the new set with the screw, following the same orientation as the old set. Carefully thread the set onto the screw, making sure it is tightened securely. Use the wrenches to tighten the bolts or nuts to the recommended torque specifications. Over-tightening can damage the set, while under-tightening can cause leaks.
Step 5: Check the Installation
Once the new set is installed, check its alignment and operation. Make sure that the valve opens and closes smoothly and that there are no leaks. You can perform a simple test by manually operating the valve and observing the flow of air or a test fluid.
Testing and Troubleshooting
After the installation is complete, it's important to test the screw tip valve set to ensure its proper functioning. Start the injection molding machine and run a few test cycles. Monitor the pressure, temperature, and flow rate of the molten plastic. If you notice any abnormal readings or issues, such as leaks or inconsistent flow, stop the machine immediately and troubleshoot the problem.
Common issues that may arise during the installation or operation of a screw tip valve set include:

- Leaks: Leaks can occur due to improper installation, damaged seals, or worn-out components. Check the seals and tighten the connections if necessary. If the problem persists, replace the damaged parts.
- Blockages: Blockages can be caused by dirt, debris, or solidified plastic. Use a cleaning solvent or a specialized cleaning tool to remove the blockage. Make sure to clean the set regularly to prevent future blockages.
- Inconsistent flow: Inconsistent flow can be due to a malfunctioning valve or a problem with the pressure regulation. Check the valve for proper operation and adjust the pressure settings if needed.
Maintenance Tips
To ensure the long-term performance and reliability of your screw tip valve set, it's important to follow these maintenance tips:
- Clean the set regularly: Clean the set after each use to remove any dirt, debris, or plastic residue. Use a cleaning solvent and a soft brush to clean the components.
- Inspect the set periodically: Inspect the set for any signs of wear or damage. Replace any worn-out or damaged parts immediately.
- Lubricate the set: Apply lubricant to the threads and moving parts of the set regularly to ensure smooth operation.
- Follow the manufacturer's recommendations: Follow the manufacturer's instructions for installation, operation, and maintenance of the screw tip valve set. This will help you avoid any potential issues and ensure the best performance.
Conclusion
Installing a screw tip valve set is a relatively straightforward process if you follow the right steps and take the necessary precautions. As a trusted Screw Tip Valve Set supplier, we offer high-quality products and comprehensive support to help you with your installation and maintenance needs.
If you're interested in purchasing a screw tip valve set or have any questions about the installation process, feel free to contact us. Our team of experts is ready to assist you and provide you with the best solutions for your plastic machinery requirements.
References
- Injection Molding Handbook, Third Edition by Rosato, Rosato, and Menges
- Plastic Injection Molding Technology by Walter Michaeli


